
Prepping a wall surface before painting is the best thing to do to ensure that you’re left with a beautiful coat of paint that lasts. In light of September being Preparedness Month, the Palantine painters at CertaPro have put together this step-by-step guide to preparing a surface for paint.
- Step 1: Fill any cracks or holes. Painting over old paint, cracks, or holes can prevent the new coat from properly adhering, which can eventually lead to peeling and bubbling. Before you begin the painting process, you’ll need to patch up any holes or cracks in the surface with spackle. Once that dries, the spackle will need to be sanded down in order for the walls to be smooth again.
- Step 2: Clean the surface. Dirt and other substances can affect the way the paint adheres a surface. Once you’ve sanded your surface, wipe it down with a damp cloth. Take note of any visible stains, and use a mild detergent to remove them. If not properly removed, these stains can show through the new coat of paint you are applying. Before you move on, let the wall surface dry completely to prevent problems with moisture.
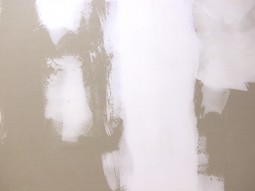
- Step 3: Prime the surface. Priming a surface before you paint may be one of the most important steps. Sometimes referred to as and undercoat, primer is recommended because if offers many different benefits, including better adhesion of paint, protection for the wall surface, and paint durability. Depending on the color of paint you have chosen, you may need to use a tinted primer to get the most out of your color.
- Step 4: Start painting! Once the surface is completely prepared, you can begin covering any furniture or flooring you don’t want damaged. You should also tape off any sections of the surface that you don’t want painted. Then, grab your paint brush or roller and start painting!
Preparing the surface that is to be painted will allow you to achieve the best look, proper paint adhesion, and the most durability out of the paint you are using.